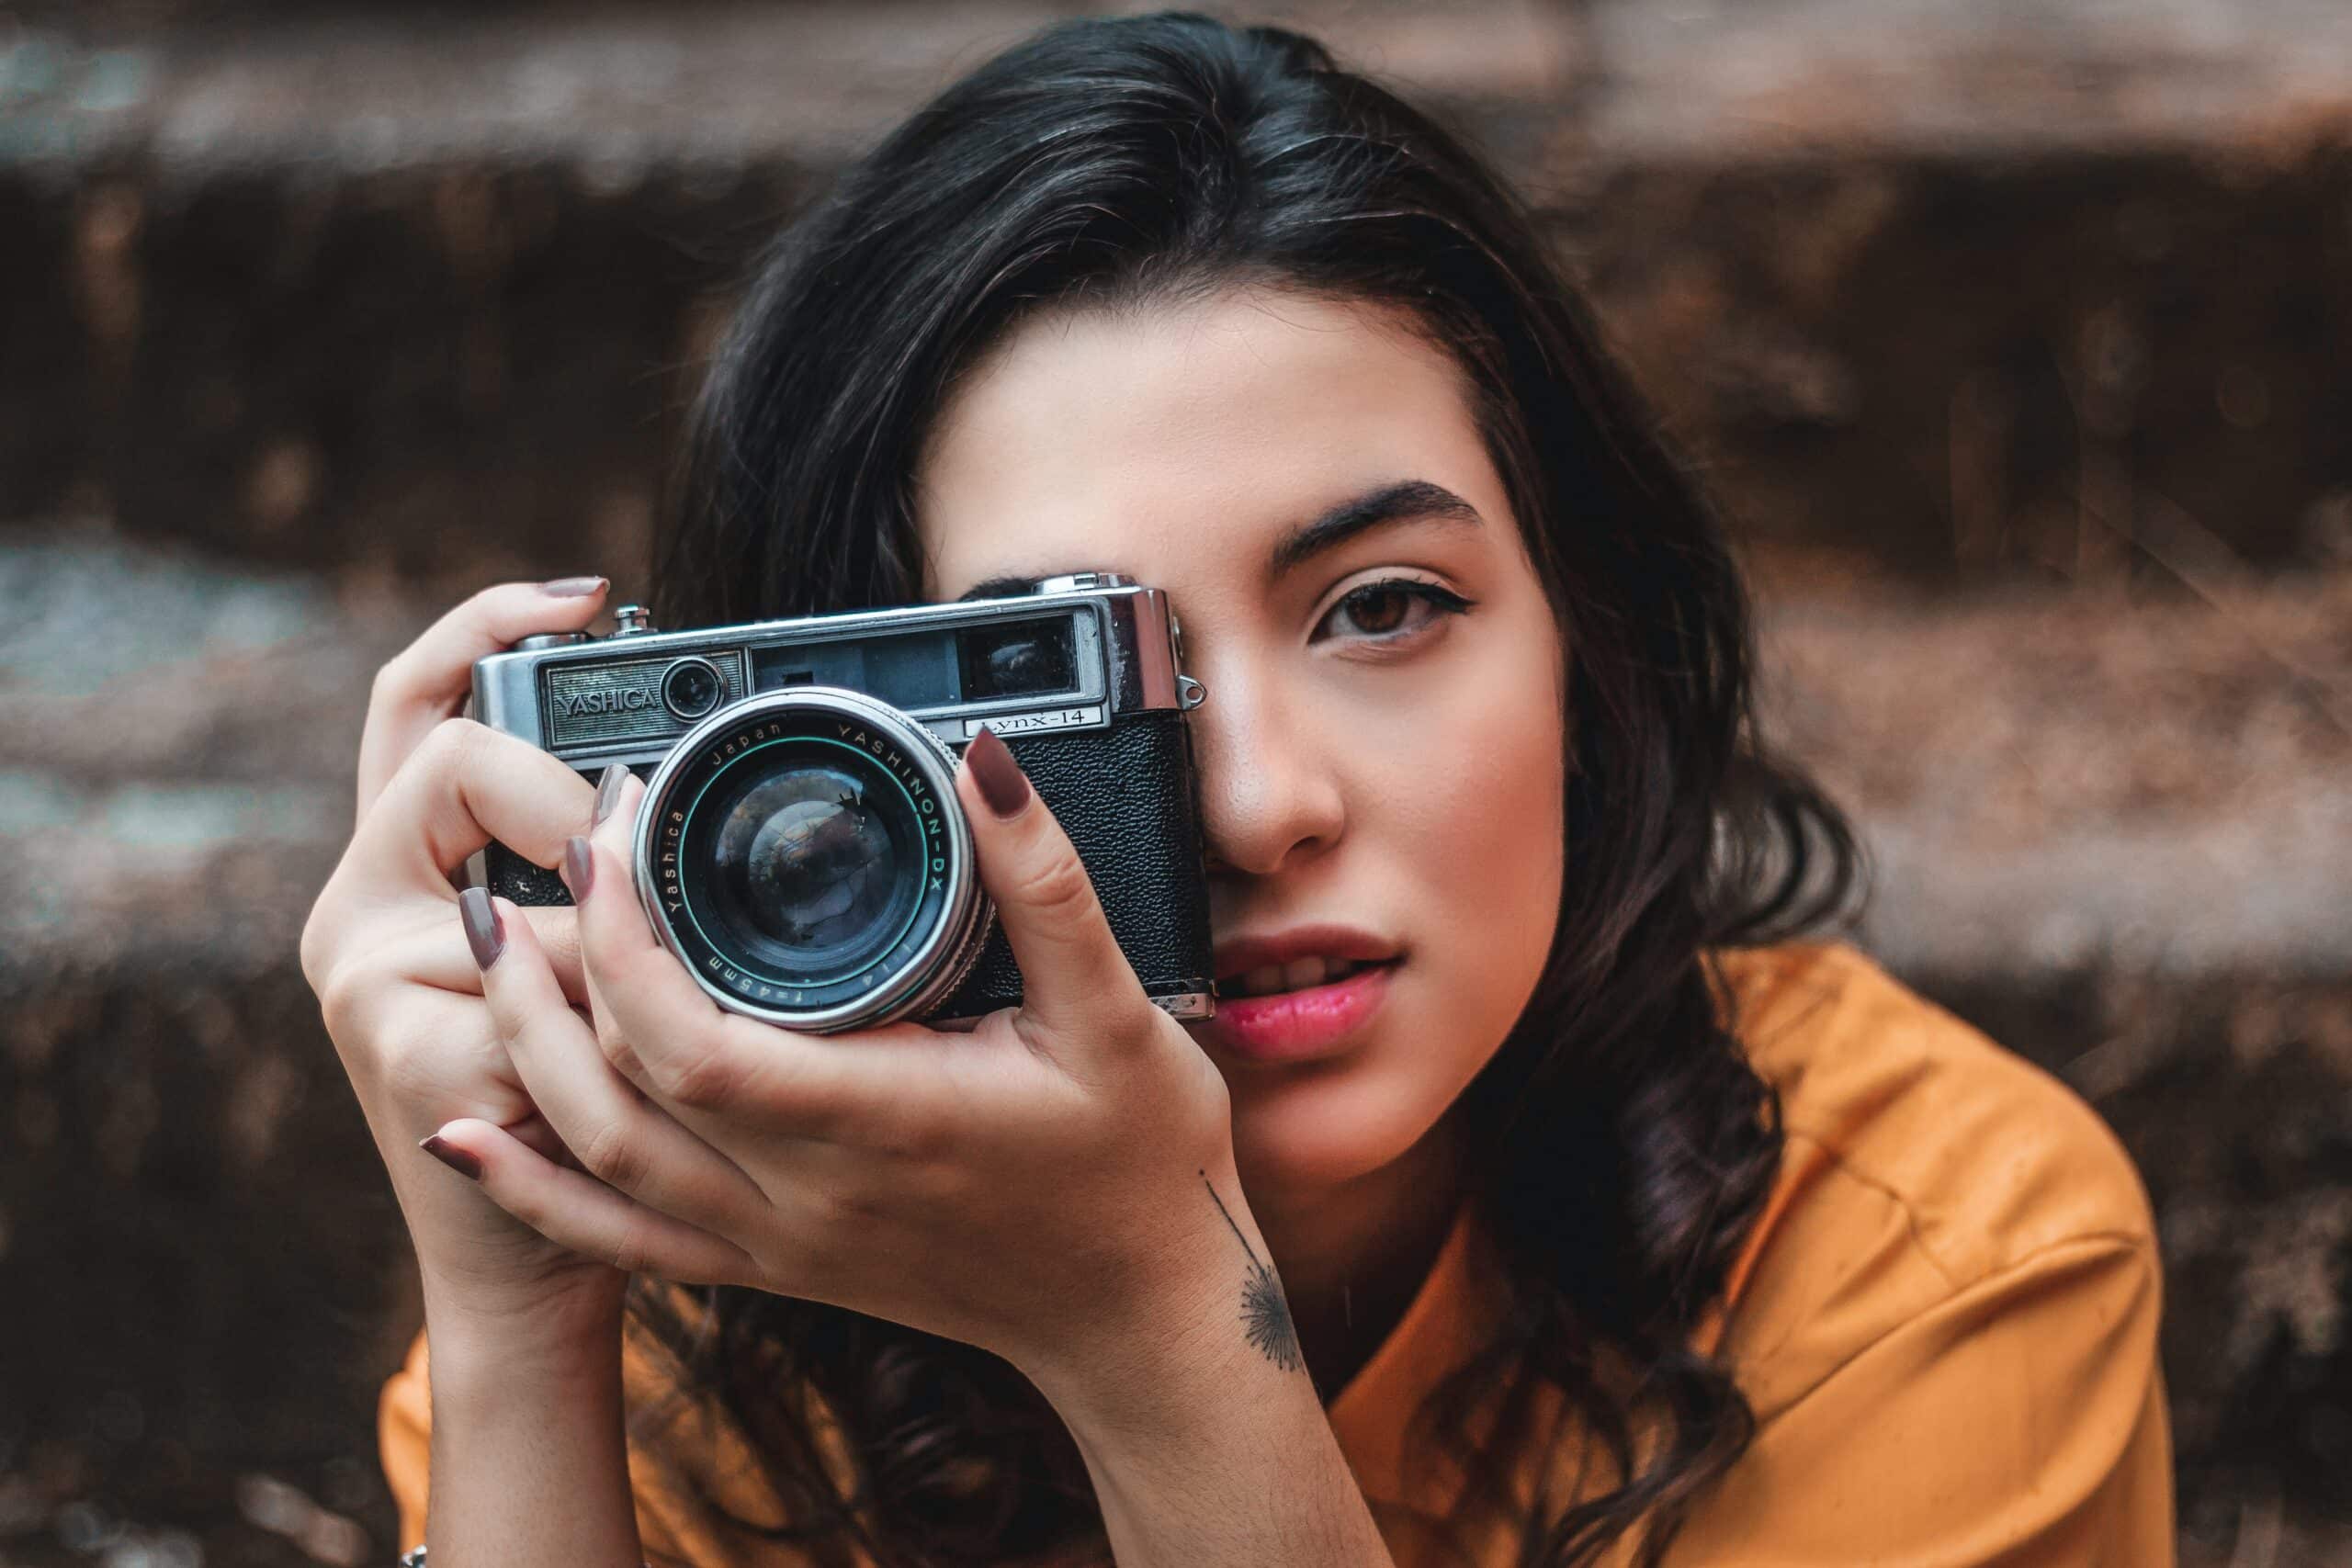
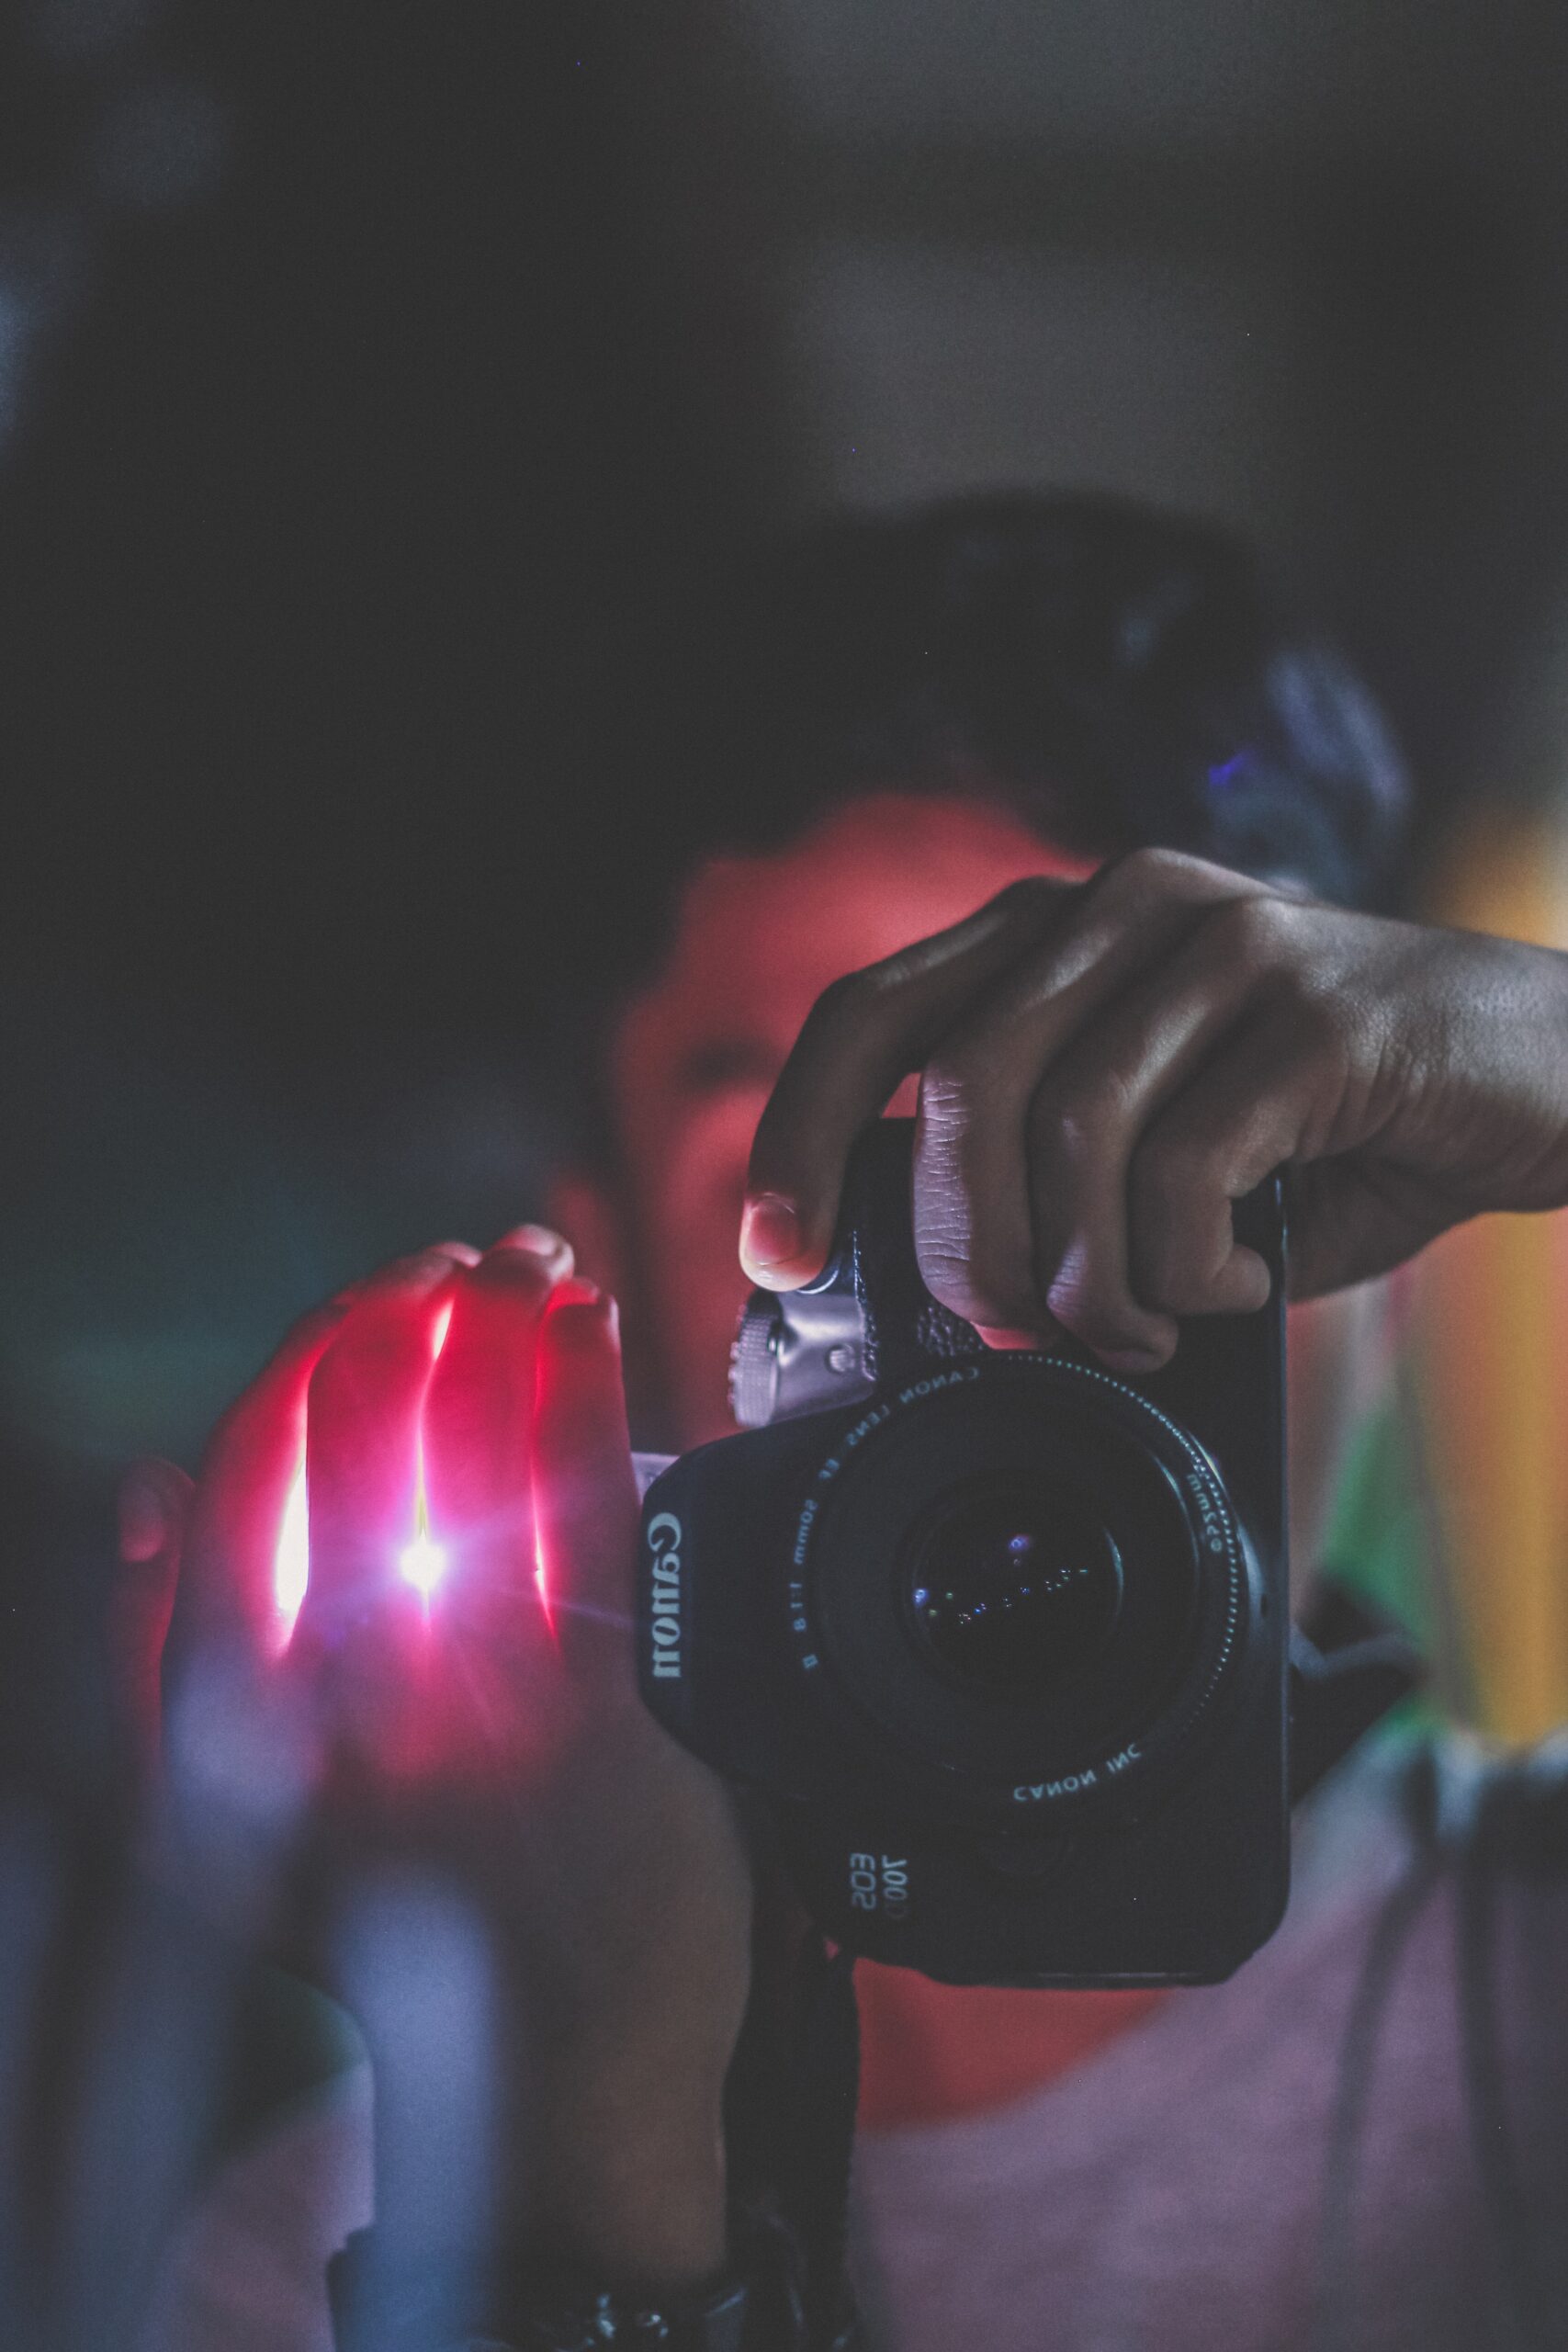
Low light photography refers to the art of taking photographs in conditions where there is dim or scarce lighting. This type of photography can be challenging because it requires the photographer to carefully manage the camera’s settings in order to get a well-exposed image.
However, with the right techniques and equipment, it is possible to capture stunning photographs in low light conditions. Some common situations where low light photography is used include indoor events, nighttime cityscapes, and astrophotography.

Whether you are a beginner or an experienced photographer, there are many ways to improve your low light photography skills and create beautiful images in challenging lighting conditions.
Here are 8 Useful Tips to Master Low Light Photography
1. Use a tripod to stabilize your camera and avoid blurry photos. Take note that this isn’t always possible when shooting live events. If you can’t use one, rely on the steadiness of your hand(s).
2. Set a low ISO value to reduce noise in your photos. Experience has taught me that the goldilocks zone for this is between 400 and 1600.
3. Use a wide aperture (low F-stop number) to let more light into the camera.
4. Use a slow shutter speed to increase the amount of time the camera’s sensor is exposed to light. Take note that If the subject you’re shooting is moving around a lot, you should set it higher. I dabble between 50 and 150 when shooting a live band / artist.
5. Use a flash to add light to the scene, but be aware that it can create harsh shadows and may not be suitable for all types of photos. Also take note that some events organizers (and artists) don’t always allow flash photography, so you can’t always do this.

6. Experiment with different white balance settings to find the one that looks best. White balance is a camera setting that adjusts the colors in your photos to accurately represent the colors of the scene you are photographing. It’s important to note that white balance is a personal preference, and what looks best to one person may not look best to another.
7. Consider using a lens with a low aperture, also known as a “fast” lens, which can let in more light. The lower the F-stop that the lens allows, the more crisp your photos will be.
8. Shoot in RAW format, which gives you more flexibility to adjust the exposure and other settings in post-processing. Experience has taught me that this works better than shooting than shooting in Jpeg format.
Well, there you have it, 8 Useful Tips To Master Low Light Photography. If I’ve left out something important, feel free to comment below. If you’ve found these tips useful, feel free to share this post on social media.
Watch this space for updates in the Photography category on Running Wolf’s Rant.
Like what you just read? Buy us a coffee or Subscribe To Our Newsletter to stay in the loop.
Feel free to explore our website, check out our Featured Articles or scroll down to see the articles that are related to this article below. We've been around since 2008, so there's plenty of content.
Living in South Africa and looking for a new smartphone? Check out Mondo Mobile - They partner with major networks to offer competitive deals, making it easy to find affordable options for your connectivity needs.


